Self-monitored customers may need to message a Loner Bridge for multiple reasons. Some of these reasons include: checking if a device user is OK or following up on an emergency alert.
This guide is only for self-monitored customers. If you have purchased the Blackline-Monitored plan, the Blackline Safety Operations Center will monitor your devices for you.
This guide will walk you through:
- Messaging a Loner Bridge after a Loner 900 user has initiated an Emergency Alert
- Receiving and responding to a message from a Loner Bridge
- Messaging a Loner Bridge from the maps page
- Additional Features available from the alert page
Messaging a Loner Bridge after a Loner 900 user has initiated an Emergency Alert
After the device user initiates an emergency alert there is an open line of communication for you to send a message to the bridge.
1. Select the Alert drop down
2. Select yes to acknowledge the alert
3. Select yes to acknowledge the alert
– The device will flash blue showing the user you
have acknowledged the alert.
4. Select Send message to Loner Bridge

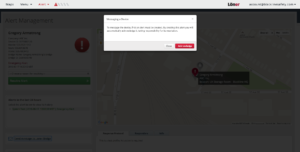
5. Select Acknowledge
– This pop-up is notifying you that in order to message a bridge you will generate an alert to create an open line of communication. By pressing acknowledge you are taking responsibility for the resolution of this alert.
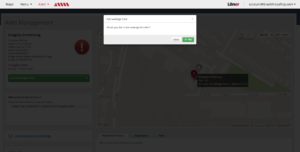
6. Type the message you wish to send
– The message field has 32 available characters
7. Select Send
– The bridge will go into alarm. You can see if the bridge has received the message in the history below the notes field.
8. When you are done messaging a bridge, select a reason to resolve the alert
– Once you close this line of communication, sending a new message to a bridge will generate a new alarm on the bridge and connected Loner 900’s
9. Select Resolve Alert
10. Select the Alert drop down
11. Select the Loner 900’s Emergency Alert
12. Select a reason to resolve the alert
13. Select Resolve Alert
Receiving and responding to a message from a Loner Bridge
A Loner Bridge user can send a number of predetermined messages to the portal.
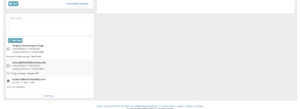
1. On any page, you will see a pop up that a message has been received
2. Select Respond
3. Type the message you wish to send
– he message field has 32 available characters
4. Select Send
– You can message back and forth with the bridge until no longer necessary. You can see if the bridge has received the message in the history below the notes field.
5. When you are done messaging a bridge, select a reason to resolve the alert
– Once you close this line of communication, sending a new message to a bridge will generate a new alarm on the bridge and connected Loner 900’s
6. Select Resolve Alert
Messaging a Loner Bridge from the maps page
Initiating a message from the map page will put the device into alarm in order to open a line of communication.
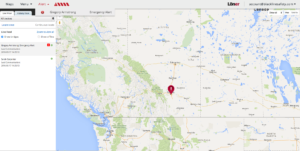
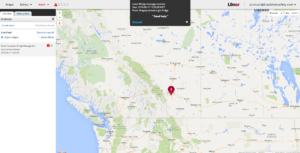
1. From any maps screen, select Show bridges
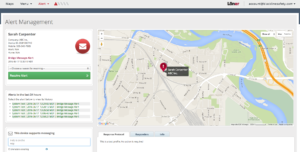
2. Select the map pin of the bridge you would like to message
3. In the right info bar, select Message this device
4. Select Acknowledge
– This pop-up is notifying you that in order to message a bridge you will generate an alert to create an open line of communication. By pressing acknowledge you are taking responsibility for the resolution of this alert.
5. Type the message you wish to send
– The message field has 32 available characters
6. Select Send
– The bridge will go into alarm. You can see if the bridge has received the message in the history below the notes field.
7. When you are done messaging a bridge, select a reason to resolve the alert
– Once you close this line of communication, sending a new message to a bridge will generate a new alarm on the bridge and connected Loner 900’s
8. Select Resolve Alert
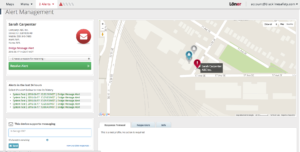
Additional features available from the alert page
There are additional features available from the alerts page that pertain to messaging a Loner Bridge.
1. Alerts in the last 24 hours
– This shows all alerts the device has had in the last 24 hours, when they happened and how they were resolved
2. View available responses
– This shows you what responses the bridge is capable of sending
3. Add a note
– This allows you to add notes when you resolve an alert. They will be shown in the history.
4. History
– This shows what messages were sent, when they were sent, if they were received and when they were received.


