Updated: October 2, 2024
G7’s filter must be replaced when it becomes visibly soiled or if bump tests and calibrations fail repeatedly. Improper reassembly can damage the SureSafe light PCB.
This article walks you through how to replace the filter for G7’s Multi-gas (diffusion) cartridge while preventing damage to the SureSafe light PCB.
You will need:
- Torx 6 Screwdriver
- G7 Multi-gas (diffusion) cartridge
- Replacement filter from kit ACC-Q-FILT10-INT (available for purchase from Blackline Safety’s Customer Care)
To replace the filters for G7 Multi-gas (diffusion) cartridge:
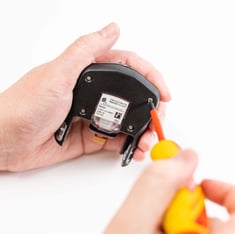
- Using the Torx 6 screwdriver, begin disassembling the cartridge by removing the four screws on the back of the cartridge and set aside.
- Remove front of cartridge to access filter.
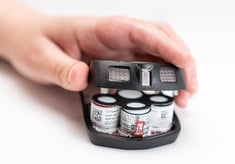
- Remove filter and discard.
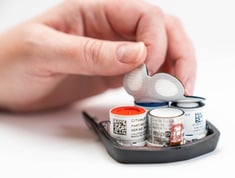
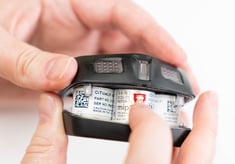
- Place the new filter onto the inside of the front cartridge (as shown in the image) to keep the filter properly aligned when reassembling. Ensure the filter's largest circle is at the top.
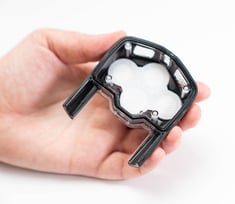
- Inspect the cartridge gasket, located on the front shell, to ensure it is seated correctly.
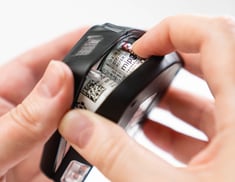
- Push down SureSafe light PCB with a finger. This prevents damage to the SureSafe light PCB.
- To begin reassembling the cartridge, angle the back of the cartridge so the SureSafe light PCB slides into the grooves on the front cartridge.
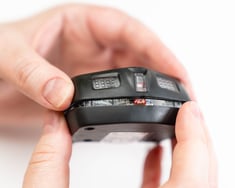
- Slide the front and back of the cartridge together.
- Replace the screws onto the cartridge and hand-tighten, using a screwdriver with a maximum tightening torque of 3.3 in-lbf (0.37 N-m) to complete reassembly.
NOTE: Do not over torque the screws, as this can damage the screw or screw posts.


